Biofilm Dynamics and Interproximal Hygiene: The Science of How to Floss with Braces
When you begin orthodontic treatment, your oral ecosystem changes overnight. At SmileNote, one of the first conversations I have with new patients is about biofilm control. Brackets, wires, and elastics introduce new retention sites that dramatically increase plaque accumulation. Understanding how to floss with braces is not optional—it is essential to prevent permanent enamel damage.
Many patients underestimate the complexity of flossing with braces, assuming that brushing harder or using a water flosser alone is sufficient. It is not. Without proper interproximal cleaning, biofilm matures, becomes pathogenic, and leads to gingivitis, enamel demineralization, and white spot lesions (WSLs) that can remain long after the braces are removed.
The Biology of Biofilm Around Brackets
Dental plaque is not random debris—it is a structured bacterial community encased in a protective extracellular matrix. When braces are placed, they create sheltered zones where oxygen levels shift and bacterial species composition changes.
Biofilm Maturation Timeline
Within 24 hours of inadequate cleaning:
- Early colonizers attach to enamel.
- Extracellular polysaccharides form a sticky scaffold.
- Acid-producing bacteria proliferate.
Within weeks:
- Demineralization begins.
- Gingival inflammation develops.
- White spot lesions may form around brackets.
This is why orthodontic patients statistically exhibit higher rates of gingivitis than non-orthodontic individuals.
Why Water Flossers Aren’t Enough
Many patients ask if they can just use a Waterpik. While water flossers are excellent for flushing out large food debris (like spinach or bread), they cannot remove the sticky biofilm layer. Think of it like washing a car: you can spray it with a hose (Waterpik), but if you don't scrub it with a sponge (floss), the dirt film remains.
The key difference is mechanical disruption. Biofilm must be physically broken apart at the contact points between teeth. That is where decay begins—and that is exactly where water alone cannot reach with sufficient shear force. Water flossers are a supplement, not a substitute. If you are wondering flossing with braces, the answer is absolutely yes, and it requires mechanical friction.
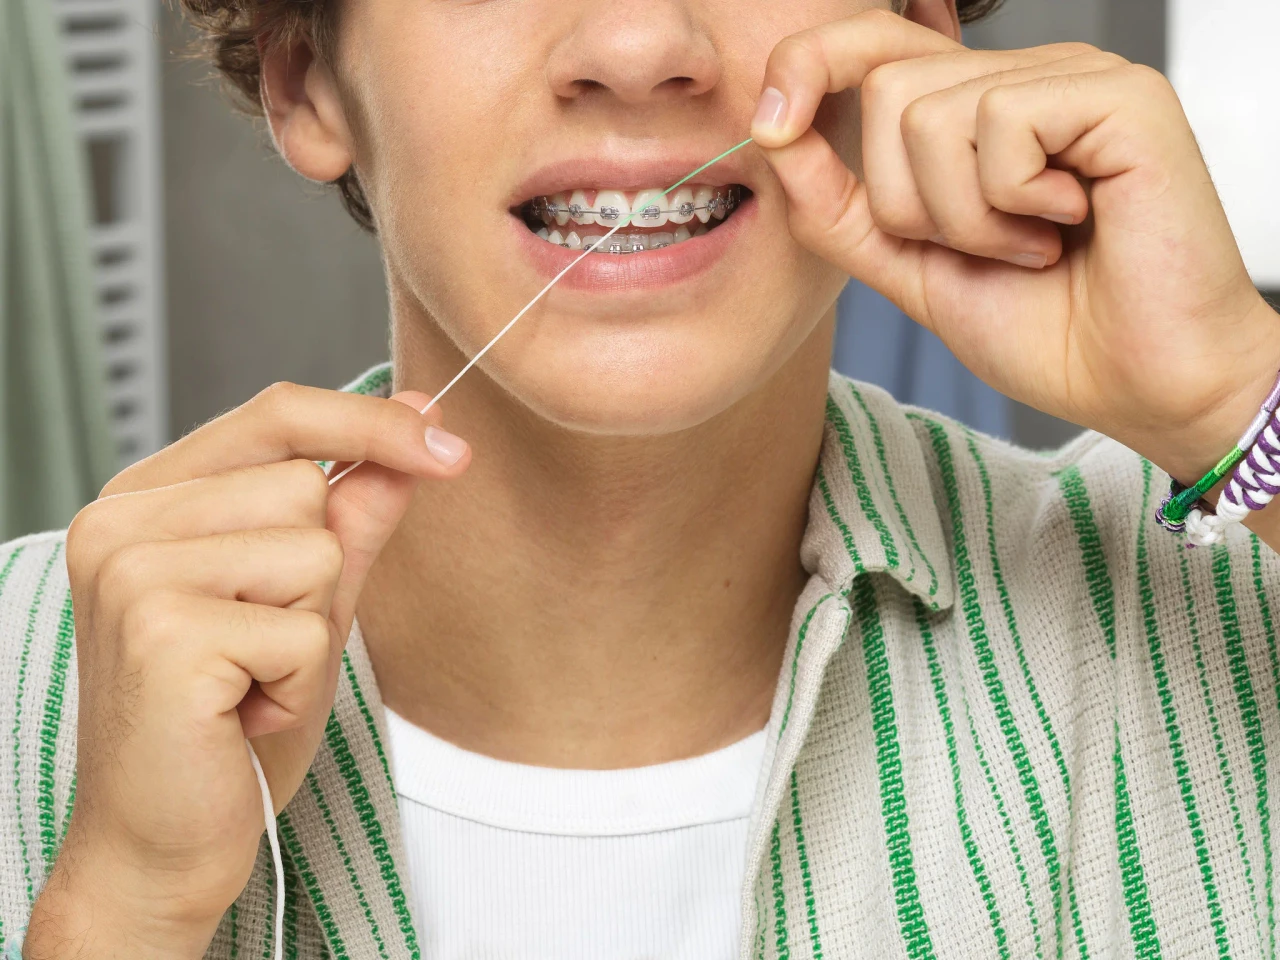
The Floss Threader Technique
Step-by-Step Guide
- Step 1: Use a rigid floss threader (looks like a plastic needle) to pull the floss behind the archwire.
- Step 2: Gently seesaw the floss down between the teeth. Do not snap it, or you will injure the gums.
- Step 3: Curve the floss into a "C" shape around the side of one tooth and scrub vertically 8–10 times. Then repeat for the adjacent tooth.
- Step 4: Pull the floss out and re-thread for the next contact point.
Yes, it takes time. Proper flossing with orthodontic appliances is slower because each space must be individually accessed behind the wire.
Flossing With Braces: Tools That Make It Easier
When discussing flossing with braces at SmileNote, I recommend adapting tools based on dexterity and age.
- Orthodontic Floss Threaders: Traditional method. Most cost-effective but time-intensive.
- Orthodontic "Platypus" Flossers: Pre-threaded picks designed to slide under the wire without re-threading. Excellent for teenagers.
- Super Floss: Pre-cut floss with a stiff end, spongy middle section, and regular floss segment. Useful for cleaning around brackets and under pontics.
- Interdental Brushes: Small cone-shaped brushes can clean under wires but do not replace floss between tight contacts.
Each tool has advantages. The correct method depends on the spacing between teeth and patient compliance level.
Frequency and Timing
This process can take 10–15 minutes. Realistically, it should be done once daily—preferably at night. Nighttime flossing is critical because salivary flow decreases during sleep, acid clearance slows, and bacteria remain undisturbed for hours. Skipping even one week of proper flossing can trigger noticeable gingival inflammation.
The Consequence of Neglect
If gums bleed when you floss, it means you aren't flossing enough. That is active gingivitis. Bleeding is not a sign to stop. It is a sign that bacteria have triggered inflammation. When you resume consistent cleaning, bleeding typically resolves within 5–7 days as tissues heal. Ignoring bleeding allows pocket formation, chronic inflammation, and increased orthodontic treatment time.
More critically, white spot lesions caused by poor hygiene are permanent. Once enamel loses mineral density, it cannot fully regenerate.
The Orthodontic–Periodontal Balance
Orthodontic movement itself induces controlled inflammation in bone. Adding uncontrolled gingival inflammation from poor hygiene compounds tissue stress. In severe cases, inadequate hygiene during orthodontic treatment can lead to attachment loss, gingival recession, and compromised final esthetics. This is why understanding how biofilm behaves is central to successful orthodontic outcomes.
Behavioral Strategies for Success
Most failures in oral hygiene during braces are behavioral, not technical. Practical strategies include:
- Floss immediately after dinner before fatigue sets in.
- Keep floss threaders in multiple locations (bathroom, backpack).
- Use a mirror with bright lighting.
- Set a phone reminder during the first month.
Consistency builds habit. Habit builds protection.
Final Thoughts: Mastering How to Floss With Braces
Orthodontic treatment is an investment in alignment and confidence—but it also introduces biological risk. Brackets transform teeth into plaque-retentive surfaces. Without disciplined interproximal cleaning, enamel damage can occur long before braces are removed. Water flossers help. Interdental brushes assist. But nothing replaces proper mechanical disruption at the contact points.
If you remember one principle, let it be this: braces do not cause cavities—biofilm does. And the most reliable defense is mastering how to floss with braces every single day.